Gwaneumsa Trail: Hiking the Steepest Trail of Mt.Hallasan
Some links in this post are affiliate links. This means if you purchase something through my links I may make a small commission at no extra charge to you. See my disclaimer.
The Gwaneumsa Trail is one of the multiple hiking routes that take you up Mt. Hallasan on Korea’s Jeju Island.
If you don’t know already, Mt. Hallasan is the largest peak in all of South Korea and reaching its summit is a great accomplishment. It’s a fantastic place to enjoy a day of walking trails and scrambling through the only tropical island in the country.
The Gwaneumsa Trail, starting in the north of the island, is one of two main trails that reach the volcanic summit along with the Seongpanak Trail, which starts in the east.
This is also a great way to experience more than one trail during your Hallasan hiking experience.
On my first trip to climb Mt. Hallasan, I climbed up the Gwaneumsa Trail and went down the Seongpanak Trail. I actually completed this trail while trying to tick off the 5 biggest peaks in all of Korea, and the Jirisan Cheonwangbong peak hike is another worth checking out.
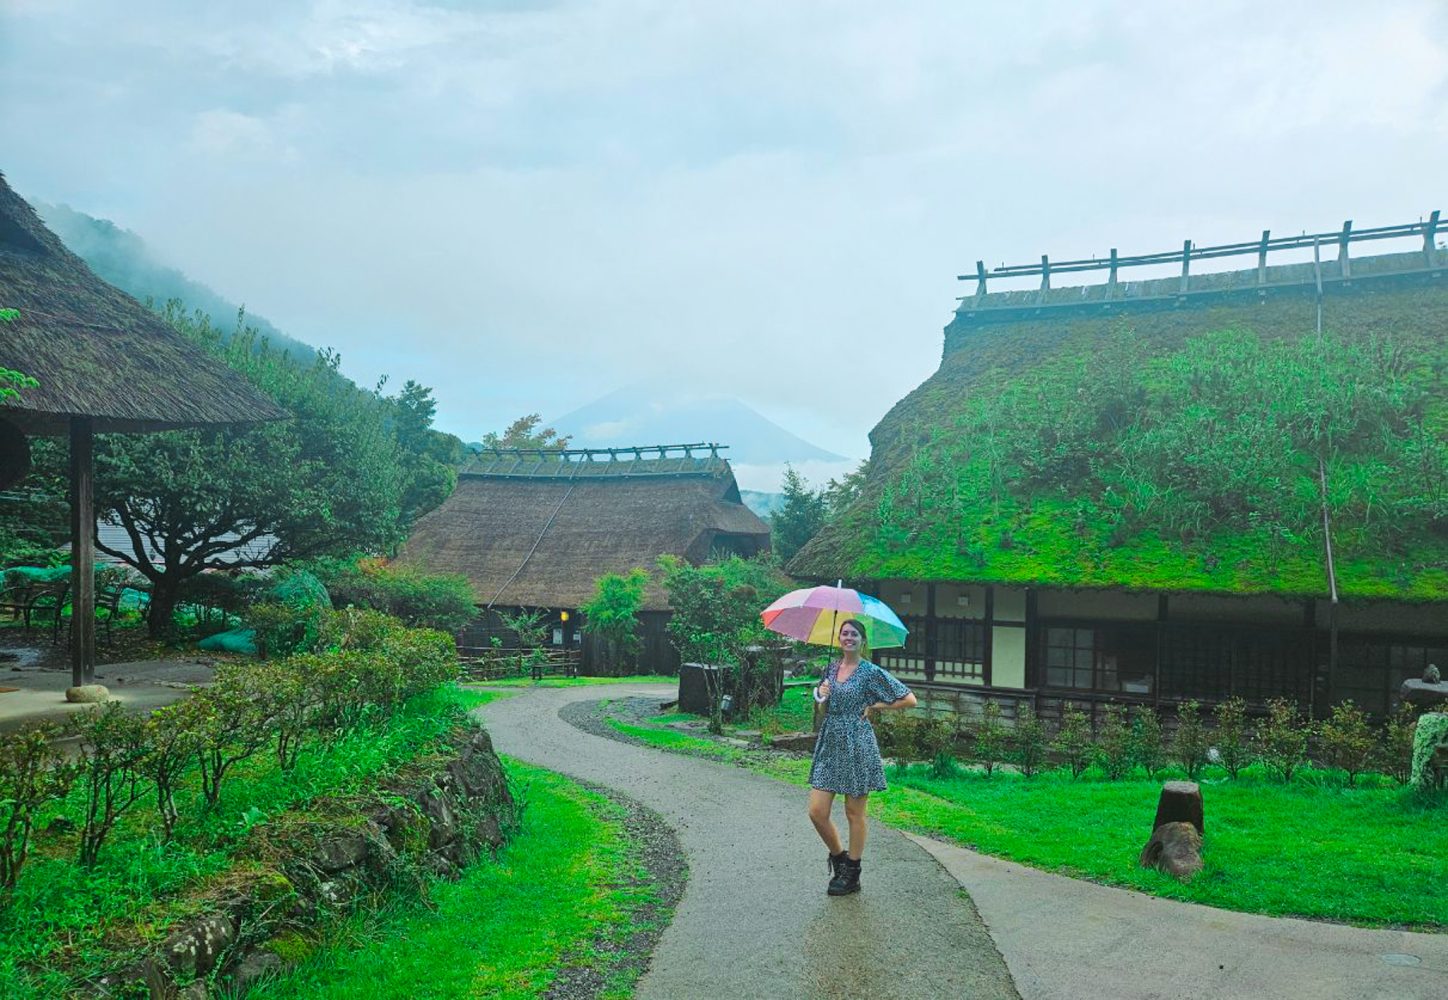
Both of these mountains have been used to film popular KDramas too, so you can easily visit and recreate your favourite scenes!
I visited Mt Hallasan during my working holiday visa in Korea, where I lived for 1 year. Want to apply for your own visa? Check out my posts on applying for a visa and getting set up as an expat!
Check out our hub pages for your South Korea trip:
South Korea Working Holiday Visa Hub
Working Holiday Visa Hub
Gap Year Planning
| Country: | South Korea (Republic of Korea) |
| Currency: | South Korean Won / KRW / ₩ |
| Do you need a visa to visit as a tourist? | Check here |
When you need to transfer money or check exchange rates during your overseas trip, consider using Wise. They have competitive rates and make exchanging foreign funds easy. I’ve been using them since 2015.

Gwaneumsa Trail stats
Length of the trail (to summit):
8.7 km / 5.4 miles
Elevation gain:
1950 m
Time to complete:
4-5 hours on average
When trying to follow the trail, I’d recommend using the AllTrails app. This app allows you to track the entire route and also prevents you from getting lost. The app is free to use, but if you want to use it offline (without an internet connection), you would need to pay for that premium feature.
To stay connected and use the free version of the app, you can get an eSIM with Airalo. For those with phones that don’t allow eSIMs, you can get a physical SIM card instead. Having a phone connection at all times during your trip to Korea can also be beneficial with regard to safety, too, as you’ll be able to reach someone if needed.
Don’t forget to get travel insurance to cover you if something bad happens. One company I have personal experience with is Safety Wing. Not everyone needs the same coverage, so make sure you get a personalised quote that suits you and your trip plans.
Apply for trail permits
If you plan on hiking to the summit of Hallasan Mountain, you will need to arrange a hiking permit in advance for each visitor. When visiting during the busy summer months, you will need to book your pass ahead of time, or you could risk missing out. There are only enough permits for roughly 400 people to access the summit trails on any one day.
As you can imagine, weekdays are easier to get permits for compared to weekends, which are much busier.
The permits are free of charge, and you can get them from the official site.
After selecting the date and time you would like to book your hike, you will need to enter your personal information, including name, date of birth, nationality and phone number.
If you are unable to complete the hike on the day you book your permit, you will need to cancel BEFORE the day in question. Failure to do so can result in a temporary ban from rebooking yourself on the hike. This is to try to stop people from taking up hiking slots that they don’t use.

How to reach the Gwanseuma Trail
Trailhead Location: Gwaneumsa Parking Lot ( 제주 제주시 산록북로 588 )
The Gwaneumsa trailhead begins in the north of the Hallasan National Park and is close to Jeju City. The trailhead is also the entrance to the Gwaneumsa Temple, which is named on the map.
Jeju Island is not the most convenient of places to travel around without a car, so if you are in a position to rent a car and have the appropriate paperwork (full driving licence and IDP International Driving Permit), then I would highly recommend getting a car during your trip. You can rent through these two companies:
Not able to rent a car? Order a taxi using the Kakao T app. Check out the other apps that will help you find your way during your stay in Korea.
I understand that not everyone is of legal age to rent a car internationally, and it can be complicated to get the appropriate paperwork before a trip, so if renting a car is not an option, you can easily get a taxi to the trailhead instead. From the centre of Jeju City, a taxi to the Gwaneumsa car park will cost roughly 17,000 won / £9.50.
If you decide to use public transit during your stay around the rest of Jeju Island, you’ll be pleased to know you can use your T Money card the same as you can on the mainland.
If you choose to take a bus to the trailhead, you will need to take bus 281 or 212 from the Jeju Bus Terminal to 사희븍지법인춘겅. From here you can change to the bus 475 until you reach the bus stop 관응사탕방로입구

Gwanseuma trail – What to expect
The trail is split into 4 sections between the entrance and the summit.
Section 1 – Green, Easy Path
The trailhead is clearly marked, and you will need to walk past the information centre to reach the entranceway. You will need to show proof of your booked reservation to the ranger at the small booth before you can enter the trail.
Make sure you are entering the trail during the timeslot you pre-booked, too. Otherwise, you might not be allowed to proceed.
The first 2.9 km / 1.8 miles of the trail will be relatively flat as it takes you through the dense forest. Much of this part of the path is covered by trees, so this is one of the most shaded sections of the entire route.
You won’t see much in the way of landscapes for the first hour or so as you make your way through the trees on a mixture of soil terrain and well-maintained boardwalks. You will make your way past a few small rest areas, complete with benches to sit on, where you’ll find people taking breaks. Eventually, you will reach the first of many long staircases heading up a steep incline, which this trail is known for.


Section 2 – Red, Difficult Path
This is the longest section of the trail. It’s along this section that you will gain a lot of elevation through ramps and uneven staircases. You will still be inside the forest for most of this part of the Gwaneumsa trail until you reach a well-known landmark along the route – the large pointed peak of a mountain ahead of you. It is perfectly lined up with the path for a great photo opportunity.
During this part of the trail, you will go past the Tamnagyegok Toilet, Gaemideung (which offers only first aid) and most importantly, the Samgakbong Shelter, which also has a rest area and public toilet.


Section 3 – Yellow, Moderate Path
This section of the Gwaneumsa trail is right after the Samgakbong Shelter. You will see a sign near the entrance. This part of the trail is deceptive because you lose elevation by going down quite a few staircases for a while, which feels nice on your knees initially until you realise you will still need to go back up in order to reach the peak.
Much of this part of the trail is along very well-kept-up wooden paths, and much of it is not covered by trees or shelter, so I’d advise that you use a hat here. You’ll start to notice that you are now walking along paths that are on the edge of steep valleys in this area, and the landscape really changes around you.


Section 4 – Red, Difficult Path
This is the final part of the Gwaneumsa trail, which finally gets you to the summit! Since you had to go down in elevation a significant amount during the last section of the path, you will need to go back up in a relatively short span of time.
This means there are a lot of really steep and seemingly endless staircases, which really get your thighs burning. The only thing that makes this last part of the trail a bit more bearable is the view you’ll get during the ascent.
From the staircases, you’ll see views of Jeju Island in the distance, and stunning sights across the volcanic crater to your right.
On a clear day, you’ll want to stop at every opportunity to take photos and enjoy the unique landscape as you make your way to the peak. The journey during this part of the trail is just as exciting as the summit because the views are simply breathtaking and give you the motivation to continue climbing to the top.
You’ll know you’re nearing the official peak of the crater when the path levels out again, and there are no more steep staircases in sight!


The Summit
Once you reach the summit of Halla Mountain, you will see a lot of boardwalks set up leading you to different viewpoints.
From where you arrive from the Gwaneumsa trail, you will find the summit rock straight ahead and likely a long line of visitors waiting to snap their photos with it. This is the best way to show people you have completed the hike by taking a picture with the official rock that symbolises the peak of Halla Mountain.
Be aware: On each day I hiked to the Hallasan peak, the wait to take a photo with the summit rock was between 45 minutes and an hour.
To your right, you will see the famous crater lake slightly beneath you off the boardwalk path. This is one of the most photographed parts of Hallasan and a fantastic photo opportunity!
There are lots of wooden platforms for people to sit down and relax while taking in the views, and on any given day, you can almost guarantee that it will be busy at the summit. This is because there are time restrictions on reaching the summit, so the majority of people will be there at the same time.
Due to safety reasons, park rangers will turn visitors away if they do not pass the Samgakbong Shelter before 12.59 pm.
Also, be aware that although there are plenty of places to rest and recover at the peak, there are no amenities such as toilets or water fountains. The last opportunity for these is back at the Samgakbong shelter on the Gwaneumsa trail before the final stretch to the peak.

At the summit, I met many people (in this line, pictured) who were really friendly and introduced themselves. It was nice to meet people, but we struggled to communicate well due to my limited Korean. I knew some simple words and sentences thanks to my private tutor, but my job was working in a Kindergarten where my boss had told me to minimise how much I learned so that the kids wouldn’t try to speak to me in Korean.
Since Hallasan is so busy, it’s highly likely you’ll meet other locals, too and want to communicate. In that case, I would highly advise learning some Korean before you head to Jeju.
Since basic Korean phrases will only take you so far, it’s worth considering lessons with a tutor to help you with pronunciation and understanding responses. That’s why I recommend Preply. where you can work one-on-one with a private tutor online. With my link, you can get 30% off your first trial lesson with a tutor.

Trail Opening Times
The Gwaneumsa trail has different opening times depending on the time of year you visit.
Please remember that the park rangers will turn people away if they do not reach the final Samgakbong Shelter before 1 pm. This is because people need enough time to get down from the summit before the weather turns.
| Season of the Year | Trail Opening Times |
|---|---|
| Spring | 5:30 am |
| Summer | 5:00 am |
| Autumn | 5:30 am |
| Winter | 6:00 am |
If you’re an early riser and don’t want to travel to the trailhead from the city, it might be worth staying at the Gwaneumsa Temple campsite, which is right by the trail entrance. If you would like to do this, you can contact the campsite at +82-064-756-9950 and book directly.
The address for the campsite is: Gwaneumsa Campsite ( 제주 제주시 산록북로 588 )

Amenities on the Gwaneumsa trail
Rest Areas
Along the Gwaneumsa trail, there are multiple places for you to sit down and take a breather. In total, there are probably around 10 different places along the trail between the entrance and the summit. Some of these are just individual benches scattered throughout the trail, and others are the official shelters.
Shelters
There is only one official shelter along this route, which is the Samgakbong Shelter. This shelter is the final point along the Gwaneumsa trail before you make the final ascent to the peak.
On average, it takes people 3-3.5 hours to reach the shelter.
At the shelter, you will find a few different things that make your short time there more comfortable. You’ll find benches and an inside rest area so you can take some time out of the sun, considering much of the trail is in the sun.
There are public toilets available to use and specific rubbish bins to separate out your food waste from general trash, too.
Toilets
There are only 3 different places along the Gwaneumsa trail to use the restroom. This means that you should time your breaks accordingly. The locations are as follows:
- At the trailhead entrance (near the information centre)
- Tamnagyegok Toilet
- Samgakbong Shelter

Want some more Jeju Island inspiration? Check out these posts:
- Cherry blossoms in Jeju City – where can you find them?
- Jeongbang Waterfall on Jeju Island: What can you expect?
Different hallasan summit trail options
Many people choose to hike up one trail and go down the other. Or you can even go up and down the same trail both ways. Here are some popular routes you can take to the summit and the pros and cons of doing them that way:
Go up Gwaneumsa and down Seongpanak
- Doing the route this way means that you will have much more of a workout going up, as it is significantly more difficult, although the route is much more scenic. However, the way down is much more relaxed and is very gradual.
Go up Seongpanak and down Gwaneumsa
- This is a significantly easier route with regard to the incline going up, but it is much less scenic. You only really get nice views near the peak, and once you reach the Gwaneumsa part of the Trail. This will be less painful on your knees.
Go up and down the Gwaneumsa trail both ways
- This is the most scenic of the three options by far; however, you will have sore knees and thighs from going up and down so many of the large staircases in both directions.
Want to check out some more hikes in Korea? These are my favourites in Busan!
- Jangsan Mountain, Busan’s popular city hike
- Geumjeongsan Mountain, Hiking the highest peak in Busan
- Enjoying the Igidae Coastal Walk in Busan
- Exploring viewpoints on the Hwangnyeongsan Mountain hike
- Bongnaesan Mountain: A short hike with great views
Prepare for your hike
Make sure that you pack the appropriate items before you attempt to hike Mt. Hallasan, as it is a very tiring hike and will require a lot of stamina and energy. Consider the weather forecast and make sure to take items that are breathable. Pack snacks and enough water for the entire day hike. Aim for 1L per person per hour at a minimum.
Not sure if you know what else to pack? I can send you a downloadable packing list specifically suited to day hikes below. There is also a blank custom page afterwards, where you can write down any extra items that may be specific to you.
Please note that the packing list is generic. If you plan on hiking in the winter during snowy conditions, you may need to consider crampons and hiking poles.
Have you hiked to the peak of Mt Hallasan yet? What did you think?
Resources to Help You Plan Your Trip
Check out how to plan a trip abroad & see my travel resources for more.
Skyscanner – A comprehensive comparison website showing where to purchase flights.
HostelWorld – The biggest selection of hostels & sociable accommodations.
Booking.com – The largest collection of accommodations AND flights worldwide.
Safety Wing – A travel insurance brand for long-term travellers and nomads.
Airalo – An eSIM card company that lets you stay connected during your trip.
Wise – Perfect for transferring foreign currencies.
iVisa – For applying for tourist and visitor visas.
Viator – Great for finding tours and activities worldwide.
Get Your Guide – Another company for finding activities.
Klook – Has some of the best activity deals in Asia.